Are you working with a node.js RESTful API, but you’re not exactly sure how to test your endpoints? It’s easier than you think, if you choose the right tools for the job.
Thanks to a super powerful javascript testing stack my team here at DevelopmentNow recently used on a client project, we’ve been able to rapidly build a node.js API concurrently with an iOS app and web app that both call the API.
When I was given the task of researching and implementing a testing stack for our node.js API project, I wasn’t sure where to begin. As a Rubyist, I am used to working with RSpec. No one on my team was familiar with options that would help us test RESTful endpoints in javascript. We spent a few days of tinkering with various testing libraries, including Jasmine and Frisby.
What follows is the solution that worked for us. I’ve also included implementation instructions and a sample app in GitHub in case you want to follow along and add this testing stack to your own project.
The stack
Mocha
Mocha is a javascript testing framework that makes asynchronous testing easy.
Why we chose it: Mocha can run on either node.js or in the browser. When compared to other javascript testing frameworks like Jasmine, we found that Mocha’s handling of asynchronous testing was a key factor in our decision to use it. When testing our API, we needed to send some data to an endpoint and use the data that comes back to make a call to another endpoint. For example, we need to get a user, then grab that user’s id to get all locations that belong to that user.
Chai
Unlike Jasmine, an additional assertion library must be used to supplement Mocha. Chai is an assertion library that lets you choose the assertion interface that you like best, including “assert”, “expect”, and “should”.
Why we chose it: Although Mocha can be used with any assertion library and Chai can be used with any javascript testing framework, many javascript developers choose to use them together. We used Chai’s “expect” interface to chain natural language assertions together, so we could test the JSON coming back from our API endpoints thoroughly. Chai is easy to pick up for a Rubyist like me who is used to using RSpec because Chai’s assertion syntax is similar RSpec’s.
SuperTest
SuperTest is an extension of SuperAgent, a lightweight HTTP AJAX request library. SuperTest provides high-level abstractions for testing node.js API endpoint responses with easy to understand assertions.
Why we chose it: In addition to testing the contents of the JSON objects, we also wanted to test other elements of the endpoint response including header type and response code. SuperTest also has a pretty intuitive interface. Simply call the endpoint and send it the data it needs, then test the response.
Magnum CI
Magnum CI is a hosted continuous integration service for private projects.
Why we chose it: Now that our testing stack is almost complete, we wanted to add one more thing: a continuous integration tool. Our first goal was to write all of our tests and make them pass. Then we could use Magnum CI to build from our develop branch each time we pushed to that branch. Magnum CI would run our tests and report a pass or fail. We like Magnum CI because it is easy to setup, it integrates with BitBucket, and reports passing or failing builds in our project Slack channel during the day as we work.
Now that we have selected our tools, let’s implement our testing solution.
How to get started
This tutorial assumes you already have node.js installed.
Install Mocha with npm
npm install -g mocha
This will install Mocha globally.
Install Chai with npm
npm install chai
Install SuperTest with npm
npm install supertest
Install Express with npm
npm install express
Install Body-Parser with npm
npm install body-parser
Set up your test folder
From your terminal, cd into your project then run mkdir test to create a test directory within the project. The directory must be called test for Mocha to find test files to run.
Create your first file
You can name your mocha files anything. however, if you are testing multiple endpoints that are associated with set of models, I recommend naming them “yourModel_test.js” etc. For this example, just create a test.js file within the test directory.
Require the libraries
Require each library and set it to a global variable at the top of the test file.
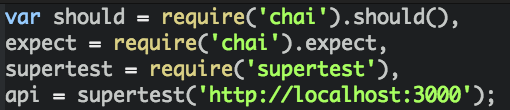
Set your API URL
Don’t forget to set your API url to a global variable as well. You will be calling this variable when you make your RESTful requests using SuperTest. If you have a local database, set the variable to localhost. If you want to test in development, be sure to set the url to your development server instance.
Write your first test
If you are not familiar with BDD (Behavior-driven Development) testing, please see this helpful article by the folks at CodeShip before you continue on.
TLDR; Behavior-driven development is a methodology that puts you in the place of the user to help you determine how you want your app to behave rather than how you want it to work. Instead of “writing tests”, focus on specifying behavior and then run mocha to ensure your app is behaving the way you expect it to. Because we are testing an API, we are ensuring that each endpoint behaves the way it is supposed to by returning the correct data in the correct format.
For our first test, we’ll start by writing a describe function and passing it a string. The string should be a noun because it is declaring the thing we are testing.

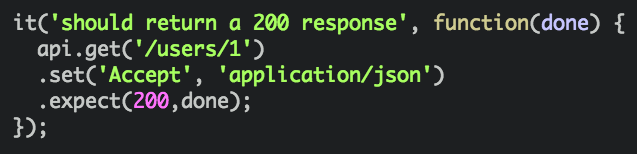
Within the describe function, we’ll write a series of it functions that detail the behavior that we want to test. We’ll pass each function a string that explicitly states the desired outcome of a passing test. This string can be anything, but it’s important that it is human readable because you’ll be referencing this string in the terminal when we run our tests. Let’s write our first it function now.
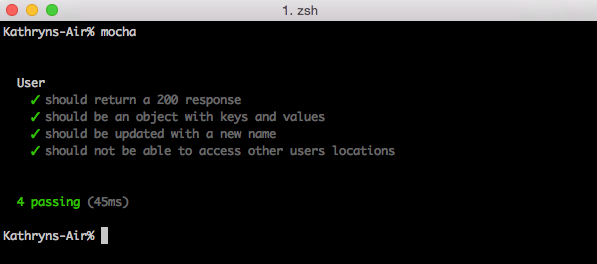
Test:
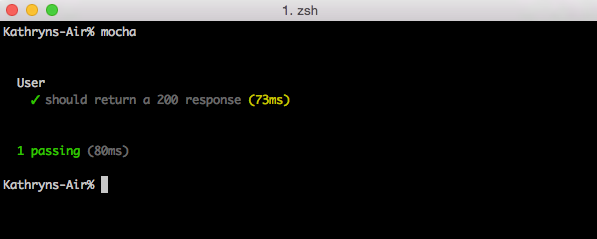
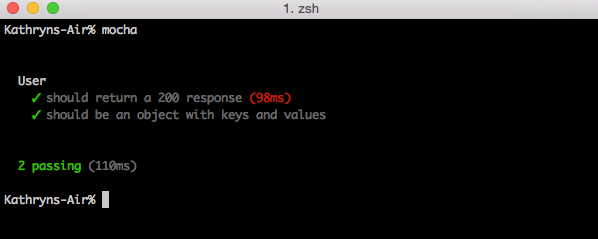
Let’s run it. Make sure you are in your project’s parent directory. Then, run the command mocha.
Here, we are simply sending a get request to an endpoint and expecting a 200 response.
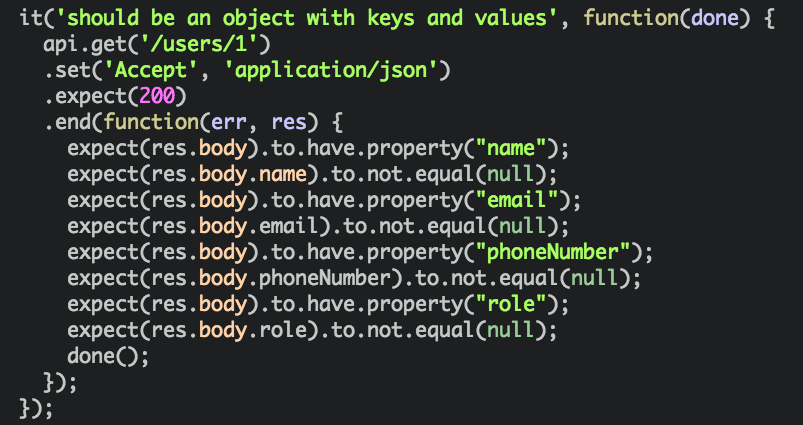
Next, here’s another test that checks for a 200 response with a few additional assertions from the Chai expect interface because I prefer it over the assert and should interfaces.
Test:
Let’s run it:
Write additional tests
Callbacks
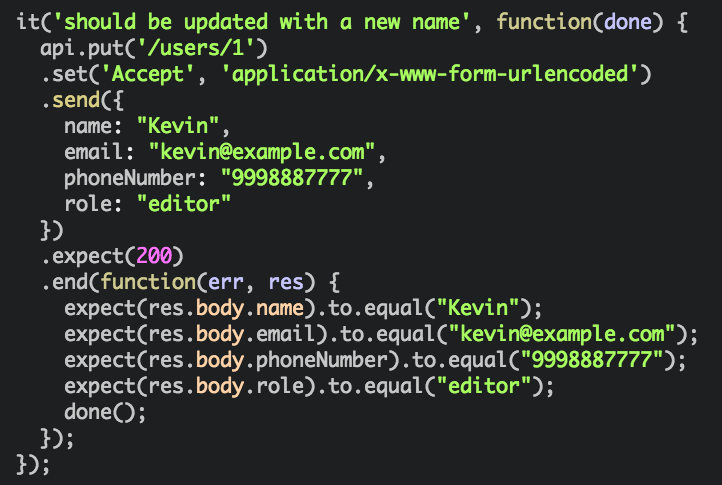
Let’s write an asynchronous integration test by sending a get request to the API and then we’ll use that data to update that record. To do this, we’ll write write a callback. Mocha allows you to use a done() callback to signal that mocha should wait for that test to complete before moving on to the next test. In our previous example, we used done() to tell Mocha to get the user first, and now we are going to update the user.
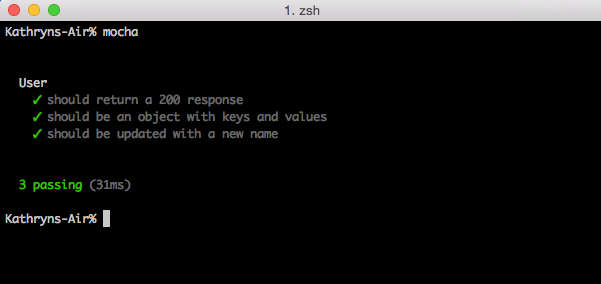
Let’s run it:
Errors
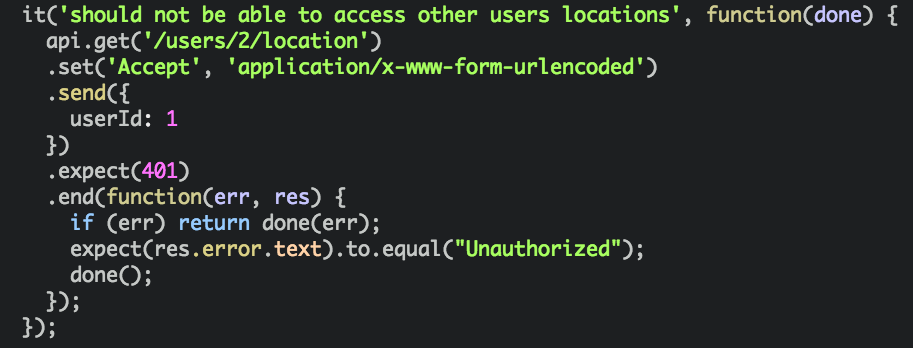
SuperTest is helpful for not only testing 200 responses from your API, but also error responses and error messages. Let’s write a function to test whether or not we are getting back the correct error.
Let’s run it:
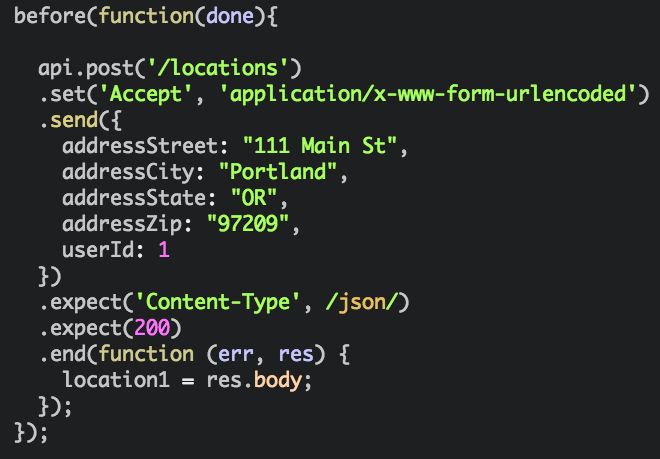
Hooks
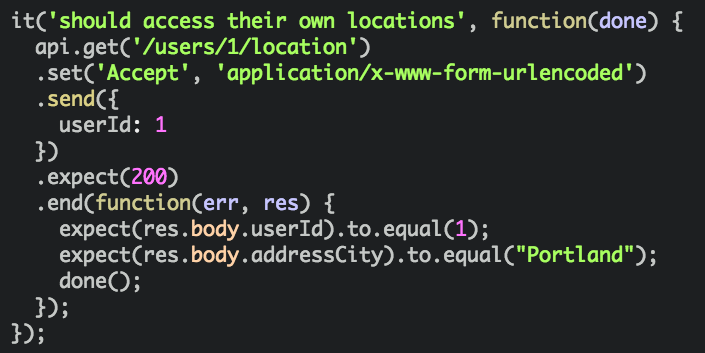
Sometimes, you’ll need to create records and access them to use their data in an integration test. You can easily do this by writing a before function. Make sure to write your before functions within your describe function. Here, we’ll create a location object so that we have location objects to get when we test the users locations endpoint.
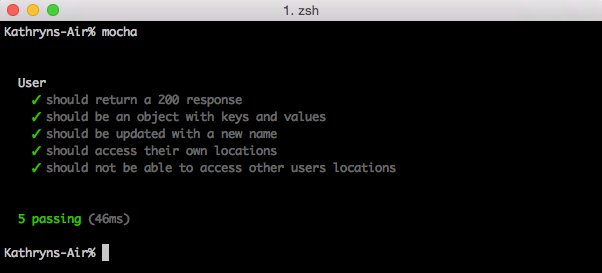
Let’s run it:
Besides the before hook, mocha also provides after, afterEach, and beforeEach hooks.
Setup Magnum CI
I recommend using a test coverage tool like Istanbul, but we decided to add Istanbul during the second phase of this project. Because our node.js API is fairly simple, we decided to spot check to ensure each endpoint was tested, even if we just tested for a 200 response. After we confirmed that all endpoints were covered, we implemented the continuous integration tool Magnum CI. To use Magnum CI, you need to create an account then set up your first project.
 Next, setup your project’s basic information.
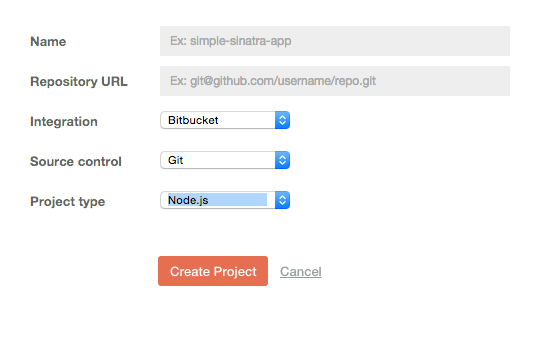 After you click to create your project, it’s time to configure your project.
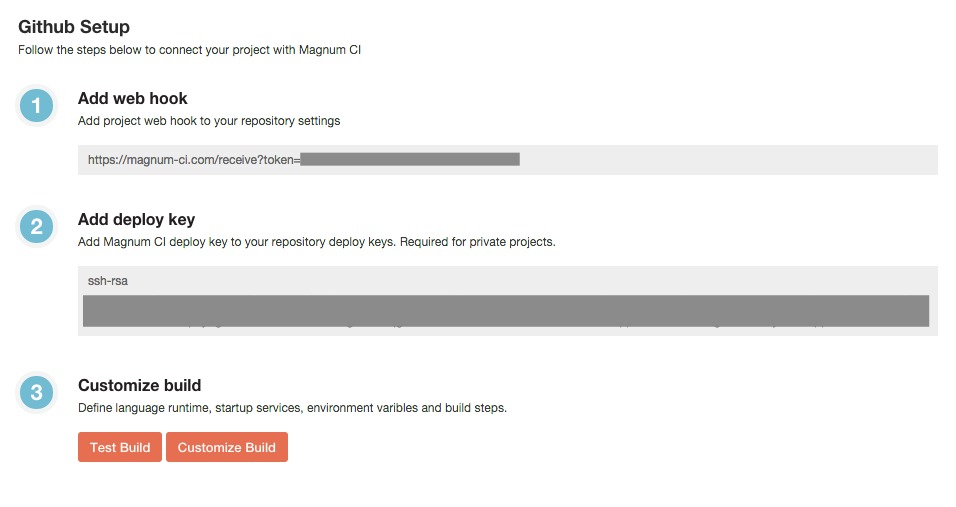
From here, you can customize the build to select the git branch you want to build from for example. Or, you can skip customization and simply create your first test build with Magnum CI’s default settings. You can explore those settings yourself and configure them according to your team’s needs.
Let’s go ahead and create our first test build.
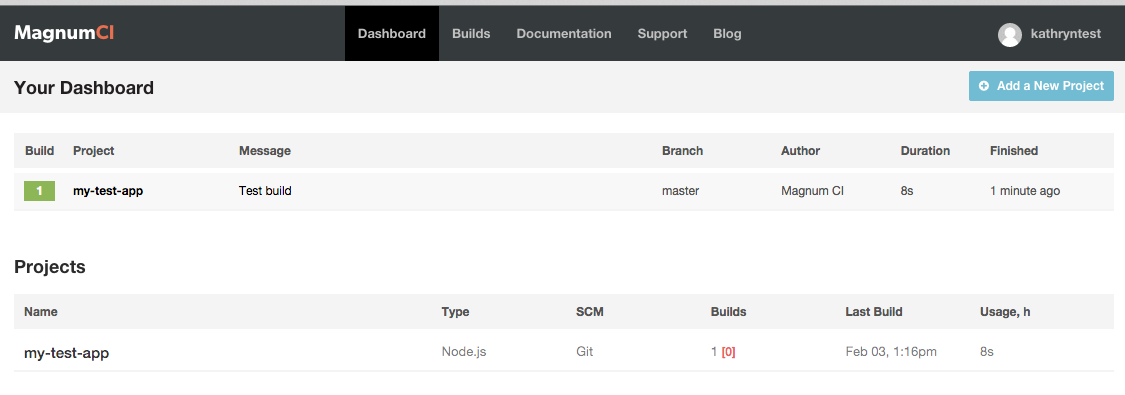
You’ll receive an email detailing the status of your build. You can also add a web hook that will push to your project room in Slack. My team especially loves this feature, because it keeps us all up to date as we all work together to fix bugs during the workday. If my team pushes a change that breaks something in the API, we all know immediately and we can work to fix the issue.
Overall, my team is happy with this testing stack because it has saved us a lot of time and frustration before the QA process even begins.
Want to implement this stack in your project too? Please clone my git repo that includes all of the code mentioned above to run the sample tests for yourself.